
SKILLS RECAP
FUNDAMENTAL SKILLS
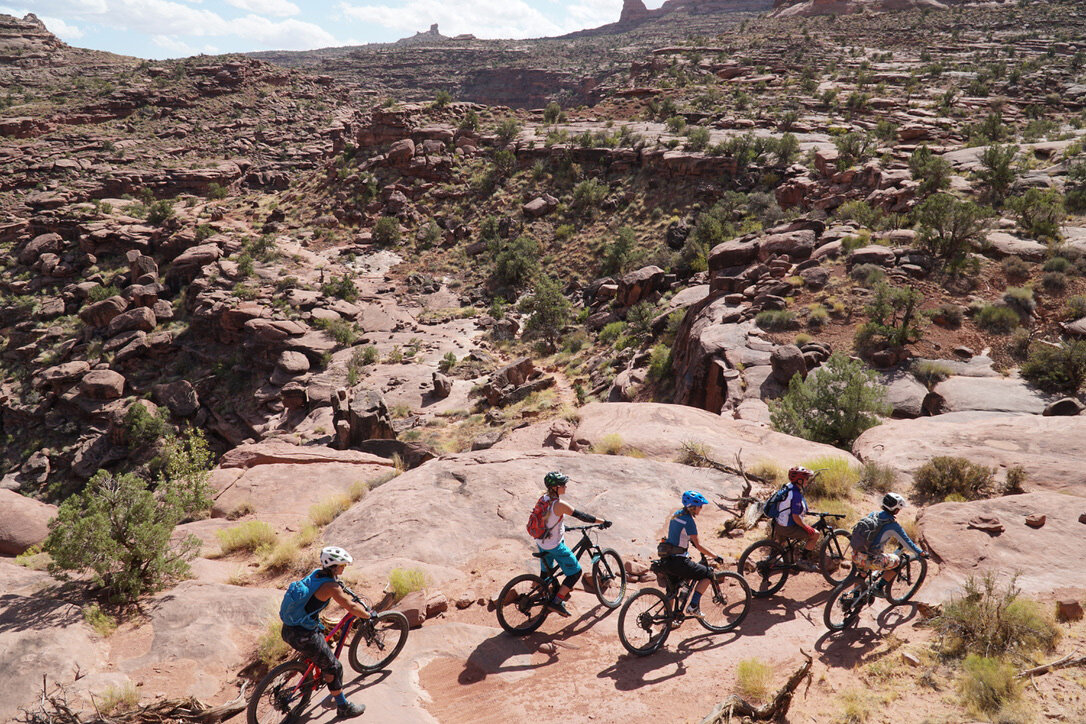
Progression not perfection!
The fundamental skill in mountain biking is BALANCE! Learning how to stay balanced in changing terrain — up and over obstacles - around corners - at high speeds - in the air — is the key to getting the bike to do what you want/need. You must learn to keep your bike light beneath you while staying balanced, and the best way to improve all of this is by practicing and mastering the fundamental skills.
Pedal Position:
Even weight on level pedals when coasting or making most technical moves. The weight is in your FEET, not your hands. “Heavy feet, light hands.”
Scan for rocks and obstacles and learn to react accordingly with your feet.
Flat pedal foot placement is more on arch of foot, not the ball.
Bracing - Drop the front heel and press forward into the front pedal for bracing while braking and pumping terrain.
Wedging - Front foot heel down presses forward on the pedal while back foot has toe slightly down pressing back onto the rear pedal. This wedges our feet between the pedals for bumpy terrain. It also helps us keep our hips from sliding too far back down steeper terrain.
Eye movement:
SCAN AND PLAN the trail between “Now and Next” with a strong focus on what’s coming up.
Constantly be planning your next move.
Spot obstacle, prepare, start maneuver then look ahead to prepare for what’s next. “Curious Turtle” - chin leads the way up climbs and around corners.
When nervous about rocks beside you and steep exposure - look straight ahead and focus on the trail and only the trail. Keep your mind logical, not emotional. Think and look only in the positive!
Neutral position / Ready position:
Always stand while riding downhill.
Even weight on level pedals.
One finger on each brake. Don’t death grip the bars.
Arms bent slightly with elbows slightly out, not straight back – Push-up position. Arms act as another form of suspension and they should work with the terrain.
Legs slightly bent – Legs should be bending and absorbing impact along with suspension and responding to the terrain. Crouching too low in the legs for too long causes unnecessary fatigue.
Bent arms and legs keep you “loose” and ready to react.
Bike Body Separation:
Fore/Aft - Used to help with certain maneuvers - climbing, rock gardens, bunny hops, peeking over bars for roll downs and lunges, manuals.
Slide body forward ahead of stem.
Push bike in front of you.
Side to Side - This is used for cornering, maneuvering through obstacles, avoiding bar grabbers and best of all playing on your bike!
Move bike side to side beneath you – moving only your elbows, quiet shoulders.
Do track stands (balance at a standstill) and try to understand how to balance the bike with body position when it’s not moving. This helps with technical climbing and slow-speed moves.
Braking:
Always leave your pointer finger and ONLY your pointer finger resting on each brake!
Use both brakes gently and evenly - like a dimmer switch. Most of the time we are braking and still moving forward. Let the wheels roll!
Front brake has more power and will slow you down and come to a stop quicker - so learn to use this brake as your primary brake when needed down steeper terrain. BRACE AND BRAKE through the heavy feet so you don’t get ahead of your bike.
Brace against pedal with heels down and push the feet down and forward for pumping and sudden stops.
Make tiny adjustments to use your brakes strategically - practice using both at the same time, or one at a time. When the tires are hitting obstacles/momentum-blockers on the trail we need to know when to let off each brake to help the wheels keep moving forward.
Nobody has time to stuff the front wheel and stop the bike from moving. Braking is strategic and mindful.
The heels down or foot-wedging braces you against your pedals for braking on downhills (especially on steeps), keeps pressure against the pedals, keeps weight centered and helps prevent you from going over the bars.
Steering / Directional control:
Moving the front wheel (It’s the wheel most commonly involved with crashes!)
Slow speed steering around obstacles with tight corners using pedal ratcheting.
Steering for quick rock dodging.
Directional control around tight corners.
Leaning the bike away from body.
Look all the way through to the exit of the corner - Look with eyes and twist head, shoulders, belly and knees towards the exit. Kneeballs, flashlight belly button, femmebott laser beams and eyes all need to be facing where you’re heading!
Speed / Momentum:
Speed comes with skills, but once you have the skills, speed can be your friend.
Momentum is keeping the wheels rolling with enough power for the obstacle.
Four different ways to get momentum:
Pedaling.
Pushing bike forward with your arms.
Pedal punch/ratchet (when full pedal stroke is not an option / bobbling climbing up rocks or up and overs).
Lurching your body (sometimes on steep rock climbs, or step ups we have to lurch our bodies forward…this gets our weight off the rear wheel and allows the rear end to follow us up).
Gearing / Cadence:
Always try and find a comfortable pedal stroke.
Light shifting by pedaling lightly.
Uphill shifting – Surge, pause and shift, pedal.
Timing / Coordination:
Understanding how small errors in timing can mess you up.
The ability to move the bike around while staying centered.
Being able to react accordingly in different situations.
The timing changes for certain maneuvers.
If you’re approaching something at a high speed, you need to start sooner - about 3 feet away.
Slow speed is about a foot away.
Pressure Control:
Balance on the bike from the feet and use your core, do not hold yourself up with arms. Weight is in the feet!
Slight lean and pressure from arms creates better traction on the front end around corners and down steeps.
Slight shift back from the hips and through the heels down puts pressure and adds traction to the rear tire.
Putting pressure equally on both feet and the handlebars provides maximum traction when you need it. Pumping the terrain with your feet and hands keeps you connected to the trail and making deliberate movements.
WHEEL LIFTS – UNWEIGHTING WHEELS
Basic front wheel lift – Load and explode through the feet. Unweight the front with chest and arms guiding bike up.
Compress suspension down by stomping down on the pedals.
Get weight off front with a slight tip back with the chest and bend the arms.
Basic Rear wheel lift – (More advanced) Unweighting the rear.
Load, explode, scoop.
Stomp feet then unweight rear with proper weight distribution and pressure between the hands on the bars and feet pressing back into the pedals while the knees bend to scoop rear wheel up carefully. Body stays low so you don’t go over the bars while practicing.
Rear wheel lift and swipe – (Advanced) For switchbacks, rock dodge, tricks.
Same as #2 then “swipe” the rear wheel to the side with feet and legs.
Front then Rear – Front then Rear.
Level lift – Both wheels at same time – Used in high speed situations.
Level lift and hop to side – Jump off skinnies, avoid obstacle, playing around.
Manual wheel lift – (The Flick) For technical moves up something when we have speed, jumping roots or obstacles in the trail, for forward momentum, to unweight front wheel without pushing down as hard.
Slight compression of suspension with hips forward (wind up) then shove the bike out in front of you with arms and legs. The arms drive the bike forward with a “flick” to generate momentum and the legs/feet shove forward on the pedals. Hips end up behind the saddle.
Bunny Hops – (Advanced)
Manual wheel lift.
Lurch up and forward with the body.
Scoop the pedals back and up to get the rear wheel to follow up into the air before the front wheel starts to dip down.
Pedal punch wheel lift (aka popping a wheelie) – For technical climbs.
Pedal at 12:00, find engagement point.
Punch forward in easy gear.
Lean back with chest towards the sky, arms extend to guide front wheel up - then get forward to manage front wheel as it comes down and get forward to unweight the rear up something while you pedal through.
Always have fingers on brake and hit the rear brake if you go too high while practicing.
LUNGES AND DROPS
Roll down lunge – Peek and Push OR Prep and Push
For rollable drops or steep roll downs or up and overs.
Lower weight into ready position and “peek” at the landing with bent arms.
Set up for a big “push” - push down and forward towards the trail.
Drops – Both wheels should stay on an even plane into the air and land together and match the steepness (or flatness) of landing.
Stamp-Send-Return method. OR Poke the bike forward into the air.
(Manageable) speed is your friend. The slower you go the more you have to do. The faster you go, the less you have to do.
Small preload suspension to make bike springy and keep feet connected to the pedals.
Push the bike out in front of you. (Lighter object needs to go first)
Hips return over saddle for landing.
CORNERING
Flat/Loose corners – Bike body separation by leaning the bike away from you. Look through the turn to the exit. Scan the corner the way you envision your bike going through it. Exaggerate the look. TWIST the body towards the corner. Knees, belly, shoulders, head pointing to the exit. (Twist and “look for your friend”around the corner)
Berms – Lean with the bike more as you put the tires flat against the berm for best traction. Scan ahead to the exit upon entrance.
“Two, One, None!” Braking technique - You see a corner coming you use both brakes to slow down. As you enter you let off your front, as you exit let off your rear. (We practice this A LOT at downhill camps!) ;)
KEY THINGS TO REMEMBER
The bike is light - move it around – you must put it where you want it to go. YOU’RE THE BOSS!! You are the pilot NOT the passenger!
The bike has no brain and no eyes, you must do everything for it and stay balanced to help it.
Peek and Push is your best friend when anything drops off or as a way to gain momentum and keep the wheels tracking straight.
Always try and react in a forward motion. We tend to back away when we’re nervous and that makes us stiff and unable to react accordingly. Move the bike FORWARD as best you can if you get into trouble! Panic braking is what messes us up!
HESITATION EQUALS DEVASTATION!
Keep the wheels rolling in the direction you want them to go. Stick with the mantra: “What do I need to do to keep my wheels rolling forward!?”
Keep that front wheel in control and light over momentum blockers
Corner mantra: LOW LOOK LEAN - WIPE YOUR BUTT ON THE BERM - FART A SIDEWAYS RAINBOW - LOOK FOR YOUR FRIEND - TWIST WHOLE BODY IN THE DIRECTION YOU’RE HEADING - “Kneeballs, flashlight belly button, femmebot laser beams, curious turtle chin, eyes scan.”
It’s A LOT to remember!
Bounce around, ride from the feet, be playful - make the most out of every ride by practicing the skills that allow you to make tricky and calculated maneuvers. You’ve got this!! PRACTICE THOSE SKILLS!!! Practice = Progress!
And remember, mountain biking is a lifelong journey that can continue to challenge us for the rest of our lives. What a gift to have something so fun to push us and keep us young and healthy for life!
Thanks for riding with us! - The Ladies AllRide Team :)
